To design the callout frame, body and location:
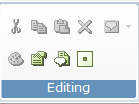
| 1. | In the Editing menu on the ribbon, click the Properties Window icon  . . |
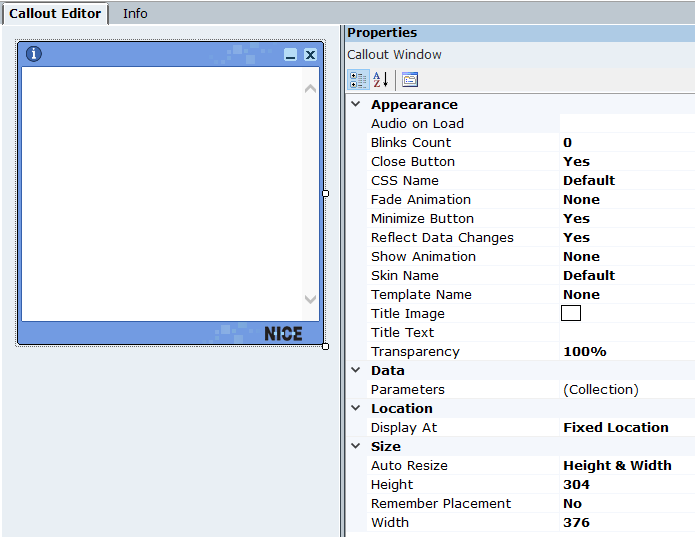
The properties area appears in the right pane, displaying the properties of the object in the Callout Editor area.
| 2. | To edit the properties of the Callout Window, click the callout frame or click anywhere outside the callout. |
The Callout Window properties appear in the Properties area.
| 3. | To define the position of the callout on the user's machine, in the Location area, click  . . |

The Callout Location window opens.
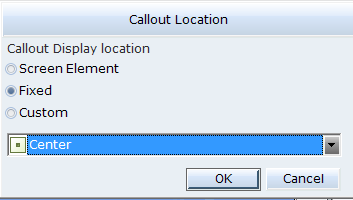
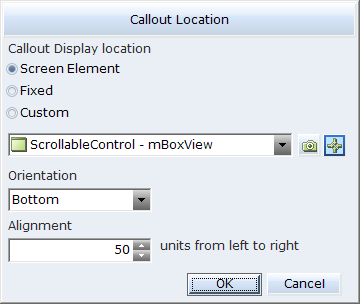
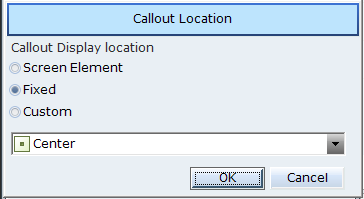
| 4. | Click one of the following options to define the callout location on the user's machine. |
Screen Element:
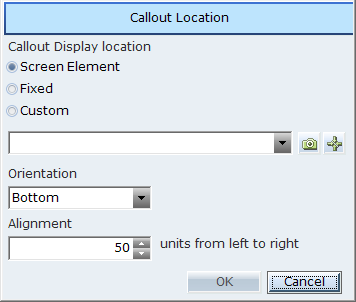
If you select Screen Element, you can verify to which Screen Element the callout is bound by clicking the icon in the Locate a Screen Element icon  .
.
Fixed:
Custom
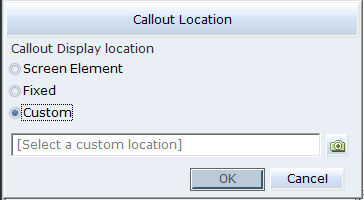
| 5. | From the drop-down list, select where the callout will appear on the user's machine. |
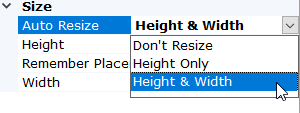
| 6. | Use the Auto Resize option to specify whether and how the callout should be resized automatically during runtime. |
-
Height & Width: Resize both the height and width of the callout to fit the callout contents.
-
Height Only: Resize only the height of the callout to fit the callout contents.
-
Don't Resize: Don't resize the callout automatically.
The callout can be auto resized to :
Maximum callout height: 90% of screen size
Maximum callout width: 70% of screen size
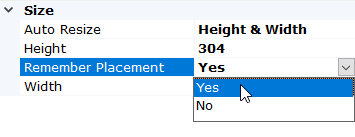
| 7. | Use the Remember Placement setting to specify whether the callout's last size and position should be stored when the callout is closed so that when the callout is next displayed it will be displayed at the same location and at the same size. |
When Remember Placement property is set to Yes and the RT client exits, the values of the size and position together with the callout name and callout display name are written to the UserPreferences.xml file under the “calloutPlacement” section, as shown in the example below:
<calloutPlacement>
<add name="dproj_XJzIekewXd2FPy2fOY3s8w.callout2_maON" xPosition="78.28125" yPosition="46.38889" width="210" height="237" screenNumber="1" displayName="Admin" />
</calloutPlacement>
When RT Client is running and a callout is triggered to pop up, RT Client checks for the Remember Placement value. If it is set to Yes, RTClient checks for that callout entry in the UserPreferences.xml file. If entry exists, RT Client take the values of the position and size from the file. If it is set to No, RT Client take the values from the generated solution file.
If Auto Resize is set to Height & Width or Height Only, setting Remember Placement to Yes will ensure that the callout is opened at its last location, but the callout will be resized automatically to fit its current contents.
| 8. | To edit the properties in the callout body, click inside the callout. |
The callout BODY properties appear in the Properties area.

In the Callout Window and the callout BODY Property areas, you can set the frame size and appearance of a callout, such as show/hide effect, icon, title text, and skin name transparency.
| 9. | To define a callout's appearance, size, and data property, see Defining Callout Properties. |
| 10. | To design a callout template and use that as a base for creating new callouts, see Designing and Using a Callout Template. |
| 11. | To see which right-click options are available, see Callout Right-Click Menu. |
| 12. | To edit a callout using scripts, see Accessing Callout Parameters Using Scripts. |
| 13. | To assign a Business Entity value to the Source URL of an IFRAME, see Assigning a Business Entity Value to the Source URL of an IFRAME. |
| 14. | To preview the appearance of this callout as it will be shown on an user's desktop, in the Callouts menu, click the Preview button. |