Installing the WPF Framework Project
To install the WPF Framework project:
|
1.
|
Compile the project in Visual Studio. |
|
2.
|
Copy the DLL file to the root directory of the Real Time Designer folder, in this example, WPF_Addon.dll to C:\Program Files (x86)\NICE Systems\Real-Time Designer. |
|
3.
|
Ensure that when you install Real-Time Designer, that you select to install the WPF Connector. |
|
4.
|
In Real-Time Designer, select NICE > Settings. |
|
5.
|
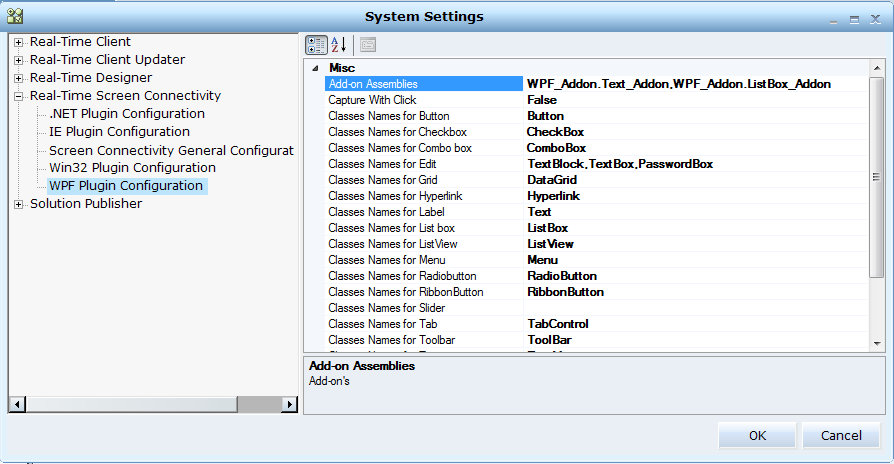
Expand Real-Time Screen Connectivity > WPF Plugin Configuration. |
|
6.
|
In the Add on Assemblies field, reference your add-on and class by entering the name of the add on, followed by a . (dot), and then the name of the class, for example, WPF_Addon.Text_Addon,WPF_Addon.ListBox_Addon. Separate classes using a comma. |