You can use the APA Recorder to easily create workflows in the Designer. The APA Recorder records user actions on the agent's machine, and transforms the recorded actions into a workflow in the Designer.
This feature is mainly relevant for the Robotic Solution.

Each recorded action, or set of consecutive actions in the same window, is added as a step in the workflow.
Workflows created using the APA Recorder are linear workflows. You can manually add additional paths (for conditions) using the Designer as you would for regular workflows.
The main stages of creating a workflow include:
| 1. | Recording the user actions using the APA Recorder |
| 2. | Saving the recorded actions as an XML file |
| 3. | Importing the saved XML file into the Designer |
| 4. | Modifying the workflow in the Designer as you would for regular workflows |
To create a workflow using the APA Recorder:
| 1. | Open the APA Recorder. Go to <Installation folder>\NICE Systems\Real-Time Designer, and open the AutomationRecorderApp.exe file. |

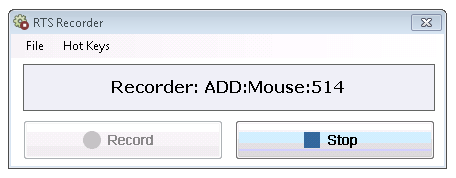
| 2. | Click Record. |
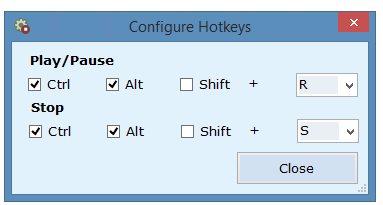
Use the Hot Keys (from the Hot Keys menu in the application) for starting, pausing and stopping the recording.
| 3. | Perform the user actions that you want to include in your workflow. You can follow the actions being recorded in the recorder's indication screen. |
When possible, use the keyboard instead of the mouse.
| 4. | Click Stop when done. |
| 5. | The processes that were recorded are displayed. To remove a process, clear the relevant checkbox, and click Remove selected. |
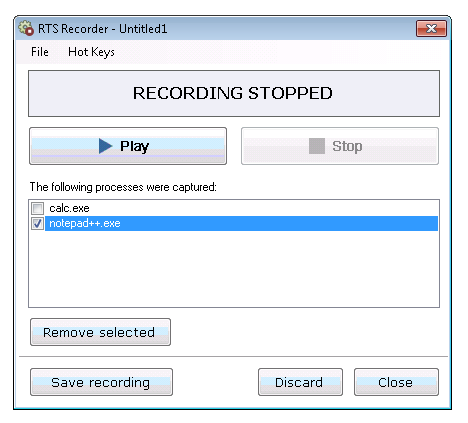
| 6. | Click Save recording: The save operation saves two types of XML files: |
<saved file name> - Recorder.xml: Use this file to play back a recording in the APA Recorder.
<saved file name> - Designer.xml: Use this file to import a recording into the Real-Time Designer. The file automatically creates a Workflow based on the recording.
Additional options available in the APA Recorder:
Play: Plays a preview of the current recording or a different recording if opened from the menu (File > Open).
Discard: Discards the recording.
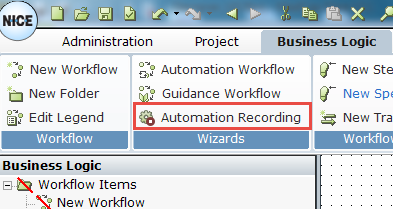
| 7. | Import the saved <saved file name> - Designer.xml file into the Designer. In the Business Logic > Workflow tab, click RTS Recorder on the toolbar, and select the saved XML file. |
| 8. | The new workflow is created in the Workflow tab. In addition, relevant business entities are created under User Instances > Automation Recording Instances > <Workflow name> in the Business Entities tab. |
To test the workflow from the Designer, you can open the monitor in the Flows tab, and play back the workflow.
You can now continue modifying the workflow. See Manually Defining a Workflow for more details.