Configuring Your Bot to Use RT Server
You must specify whether to work though Real-Time Server or to work directly with Amazon AWS Lex. Working directly with Amazon AWS Lex is especially useful during development and testing when no Real-Time Server is available. For production, you need to configure your bot to use Real-Time Server.
Configure the Amazon Lex bot keys (local access key and secret key) in the Automation Portal, and then configure the Bot settings via the Web-based Console. See the Automation Portal User Guide and System Administration Configuration Guide.
If you change the settings in the Automation Portal or RT Server Web-based Console, the system is automatically updated. You do not need to restart any services (not even in a clustered environment).
To connect your project to Amazon Lex through Real-Time Server:
In the RT Designer project, in the NEVA Settings business entity, set Use RT Server Connection to True.
To configure your bot keys on the Automation Portal:
| 1. | In the Automation Portal, select Robotic Client > Password Manager > Applications and create a Lex application. |
The Name of the application must match the CCM Application Name in the RT Server Console.
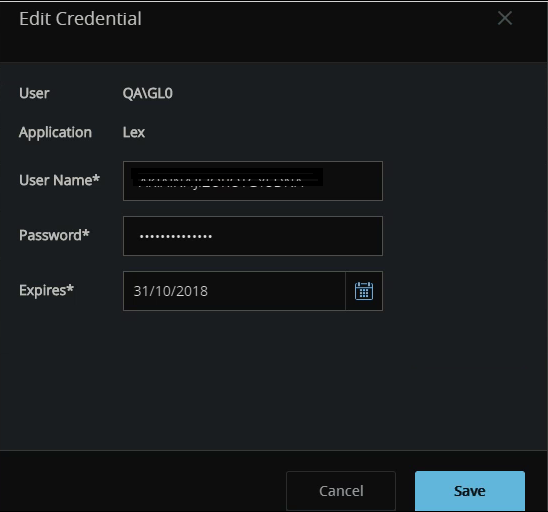
| 2. | Select Password Manager > Credentials. Select the Lex user and create a credential: |
User Name: The AWS local access key.
Password: The AWS secret key.
The User is used as the CCM User ID in the RT Server Control.
To configure your bot on RT Server:
| 1. | On the Real-Time Server, double-click the RTServer shortcut icon the desktop. |
| 2. | Click the Server Console link. |
| 3. | Enter your username and password. |
| 4. | Click the Configuration Management link. |
| 5. | Click the CHAT BOT link. |
| 6. | Configure the parameters: |
Bot Region: The Amazon Lex AWS region to connect to (us-east-1, us-west-2 or eu-west-1).
CCM Application Name: The name of the CCM application as it is configured in Automation Portal (Robotic Client > Password Manager > Applications).
CCM User ID: The user ID configured in CCM for Amazon Lex. This is configured in Automation Portal (Robotic Client > Password Manager > Credentials).
When working without an RT Server (for example, for development), specify these parameters in the NEVA Settings. See Creating the NEVA Settings Business Entity.

To configure your NEVA proxy URL:
| 1. | In Real-Time Designer, select Settings > Real-Time Client > NEVA. |
| 2. | Configure the NEVA Proxy URL in the form http://<IP/host name>:1911/RTServer/ms/cb/chat/text. |
