Creating a Sync Real-Time Client Invoker
After publishing the Robotic Automation solution to the server, you are ready to create an invocation of the workflow.
The published Robotic Automation Solution can also be invoked by a Sync REST API (see Integration with Third-Party Applications).
You will be able to create a Real-Time Client Invoker using the Real-Time Designer only if the Real-Time Designer is connected to the Real-Time Server.
To enable sync invocation (conversation mode), see Enabling Sync Invocation (Conversation Mode).
When sync tasks are sent to retry, the conversation ID is not included. It is therefore recommended to assign a conversation to a workflow that is not retriable.
A conversation can last up to two hours after which it will be terminated.
To execute a conversation:
| 1. | Use the Begin Conversation method to send a request to begin a conversation with the Real-Time Server. You must specify the invoker idle timeout (this timeout checks the idle time between the begin conversation response and the first invocation. It then checks the time between the first invocation response and the second invocation, and so on). The Real-Time Server creates a conversation ID. |
| 2. | Use the Sync Invocation method to send the first task. The Real-Time Server assigns a dedicated robot to the conversation, and adds the task to the sync task queue. The robot is assigned for the lifecycle of the conversation (a conversation can include several automation requests). The assigned robot executes the task, sends a reply to the invoker and then waits for the invoker’s next task or for the termination of the conversation. |
| 3. | Repeat for as many tasks as are required. |
| 4. | Use the End Conversation method to terminate the conversation. the robot is released. |
If a synced invocation is orphaned, backlogged or removed, the conversation is closed by the microservice.
This functionality is supported by the following configuration in the RTClient.exe.config file:
<roboticAutomationInvocationConfiguration syncInvocationServiceUrl="http://RTI-liorepCI1.e-glue.com:1911/RTServer/ms/ra-si/ra/sync-invocations" invocationServiceUrl="http://rti-liorepci1.e-glue.com:1911/RTServer/services/RoboticAutomationService"/>
To create a Real-Time Client Invoker using the Real-Time Designer:
| 1. | Verify that you have a published Robotic Automation Solution available (see Create, Configure and Enable the Robotic Automation Solution via Real-Time Designer). |
| 2. | Open Real-Time Designer, navigate to the Project tab and click References. |
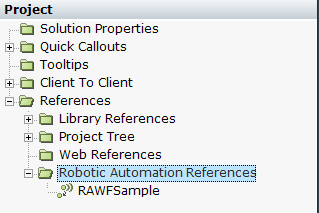
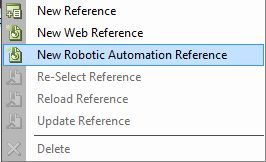
| 3. | Go to Robotic Automation References, right-click and select New Robotic Automation Reference. |
| 4. | Real-Time Server goes to the server requests for all the Robotic Automation Solutions and workflows that are currently published on the server. These are displayed in the Add Robotic Automation Reference window, which lists all of the published solutions, their versions, workflows, and parameters in descending order. |
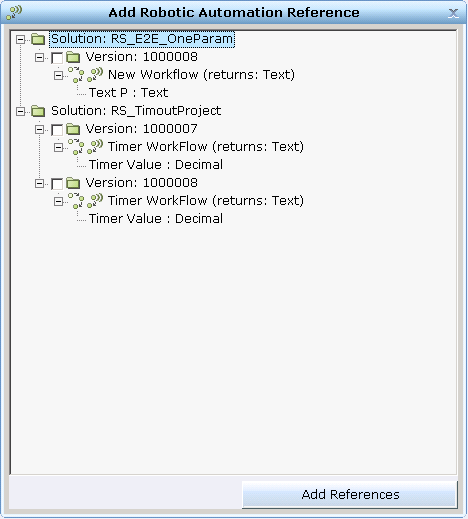
| 5. | Select a version for the published solution and click Add References. |
The new reference is added to the Robotic Automation references and automatically creates a corresponding service.
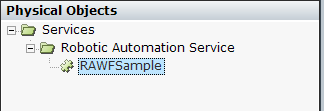
| 6. | Go to the Physical Objects tab to view the newly added service. |
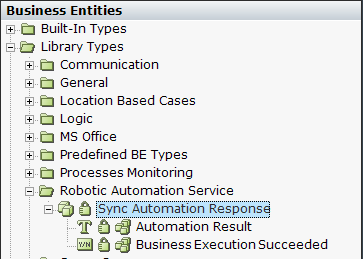
| 7. | Go to the Business Entities tab to see view the Robotic Automation Service. The service exposes the Sync Automation Response business entity that includes the following: |
Automation Result: The workflow result returned by the robot.
Business Execution Succeeded: Whether or not the business execution succeeded.
You may create an invocation based on rules, business logic, and the automation options that are available in the Real-Time Designer (see Real-Time Designer User Guide for details).
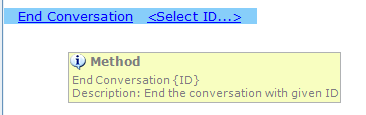
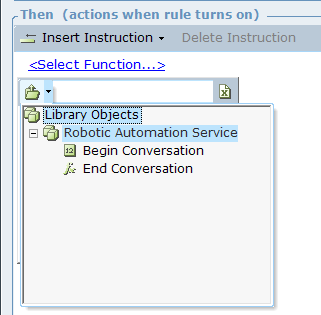
| 8. | The Robotic Automation Service (in Library Objects) exposes the Begin Conversation and End Conversation methods. |
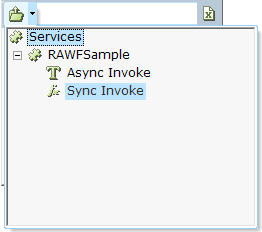
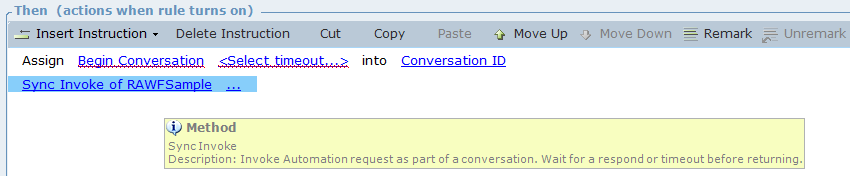
| 9. | The service exposes the Sync Invoke method (in addition to the existing Async Invoke method). |
| 10. | To start the conversation, execute the Begin Conversation method, specifying the invoker timeout in seconds. This method returns the conversation ID, which needs to be assigned to a business entity. This is then used as an input for the Sync Invoke method. For more information on timeouts, see the Robotic Automation Solution Guide. |

| 11. | Now assign the Sync Invoke method exposed by the service. This returns the Sync Automation Response that includes the Automation Result and the Business Execution Succeeded. |
| 12. | This opens a window where you can select the following: |
The Workflow inside the solution that you wish to invoke.
The Conversation ID.
The Priority. This only impacts the first invocation inside a conversation, as once the first invocation is executed, a dedicated robot services the conversation.
The parameters (if any) for the workflow (see Creating a Robotic Automation Workflow)
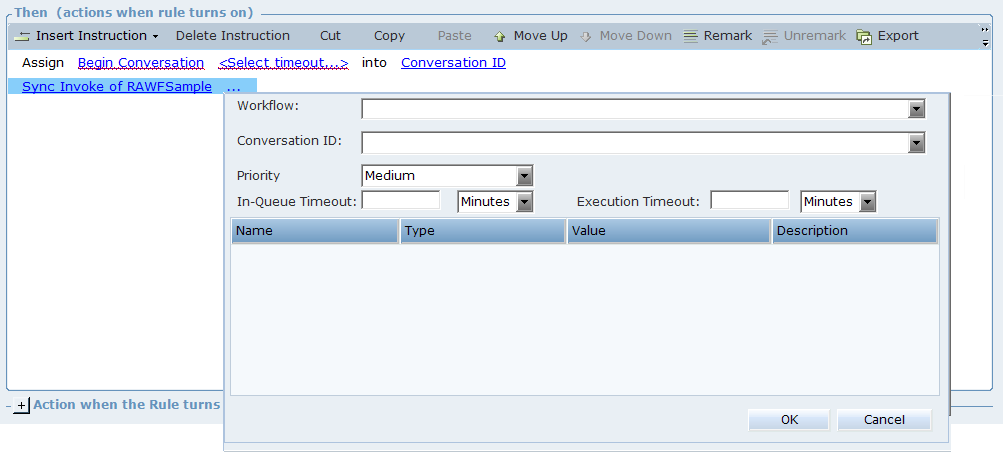
| 13. | From the Workflow dropdown, select the relevant workflow, and then parameters (if available). |
| 14. | From the Conversation ID dropdown, select the conversation ID (mandatory). |
| 15. | From the Priority dropdown, select the workflow priority (optional and only relevant for first invocation in a conversation). |
Business Data parameters are optional.
| 16. | In the In-Queue Timeout and Execution Timeout tabs, enter their individual timeout values, and select a time format. |
The entry for timeout should be in the following range: Hours: 1-24, Minutes: 1-1440, Seconds: 1-86400. If no entry is provided then the parameter is set to values set in RT Server Configurations. See the Robotic Automation Solution Guide.
| 17. | Click OK. |
| 18. | Repeat for as many sync invocations as required. |
| 19. | To end the conversation, execute the End Conversation method specifying the conversation ID. |