


To enable the Real-Time Designer to work with the .NET Connector:
| 1. | Complete the Real-Time Designer installation process. For more information, see the Real-Time Client and Designer Server Installation Guide. |
You do not need to select the .NET connector during the installation process as it is installed by default.
| 2. | Start Real-Time Designer and select the Physical Objects tab. .NET is selected by default in the Connectors Enabled for Capture drop-down list. If required, to disable the .NET connector, clear the .NET option. |

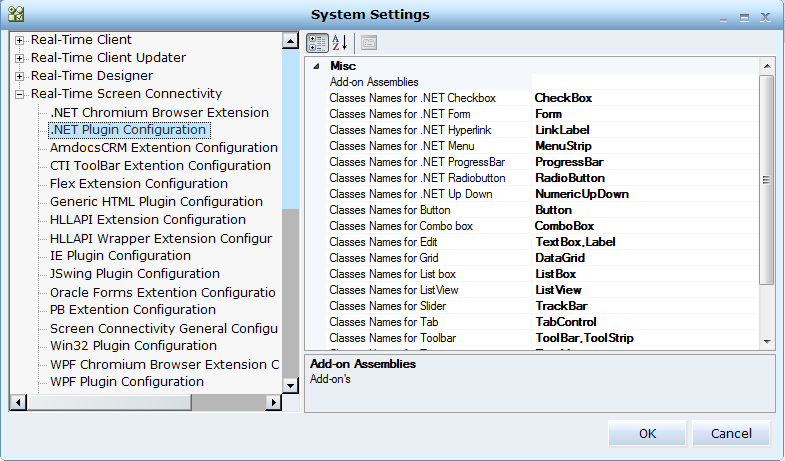
| 3. | Next, configure the .NET Plugin Configuration in the Real-Time Designer System Settings. This enables you to specify the class names and other parameters that Real-Time Designer uses to identify .NET applications (see .NET Plugin Configuration in the System Administration Guide). For example, in the Multi Instance Classes Names parameter, you can define the classes names for which the Has multi instance option is checked by default when you capture the .NET object of the specified classes. |
When running a .NET application, you do not need to configure any application settings to capture objects on it, because Real-Time Designer automatically connects to the .NET API.