


To design the callout frame, body and location:
| 1. | In the Editing menu on the ribbon, click the Properties Window icon  . . |
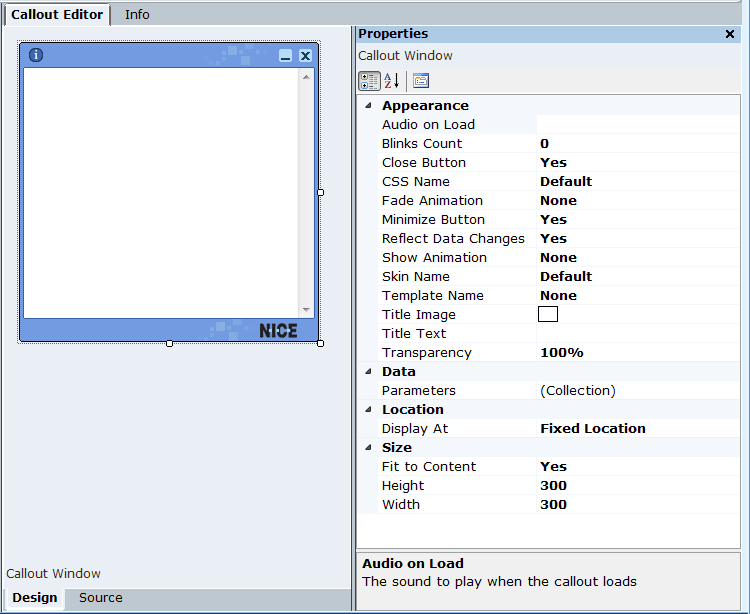
The properties area appears in the right pane, displaying the properties of the object in the Callout Editor area.
| 2. | To edit the properties of the Callout Window, click the callout frame or click anywhere outside the callout. |
The Callout Window properties appear in the Properties area.
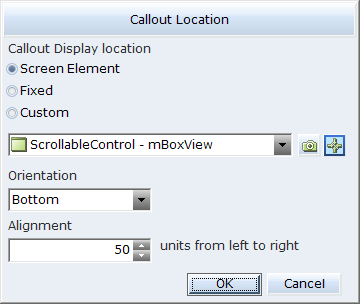
| 3. | To define the position of the callout on the user's machine, in the Location area, click  . . |

The Callout Location window opens.
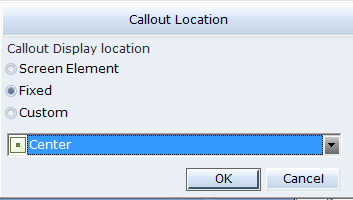
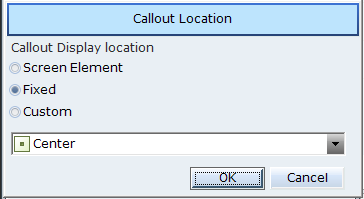
| 4. | Click one of the following options to define the callout location on the user's machine. |
Screen Element:
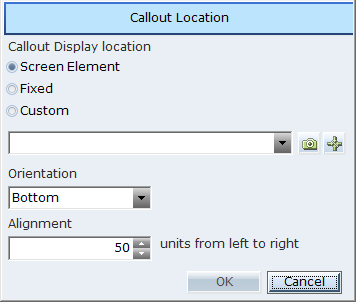
If you select Screen Element, you can verify to which Screen Element the callout is bound by clicking the icon in the Locate a Screen Element icon  .
.
Fixed:
Custom
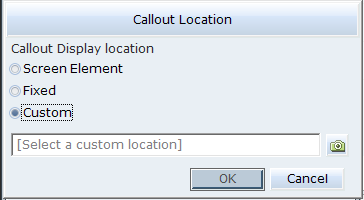
| 5. | From the drop-down list, select where the callout will appear on the user's machine. |
| 6. | To edit the properties in the callout body, click inside the callout. |
The callout BODY properties appear in the Properties area.
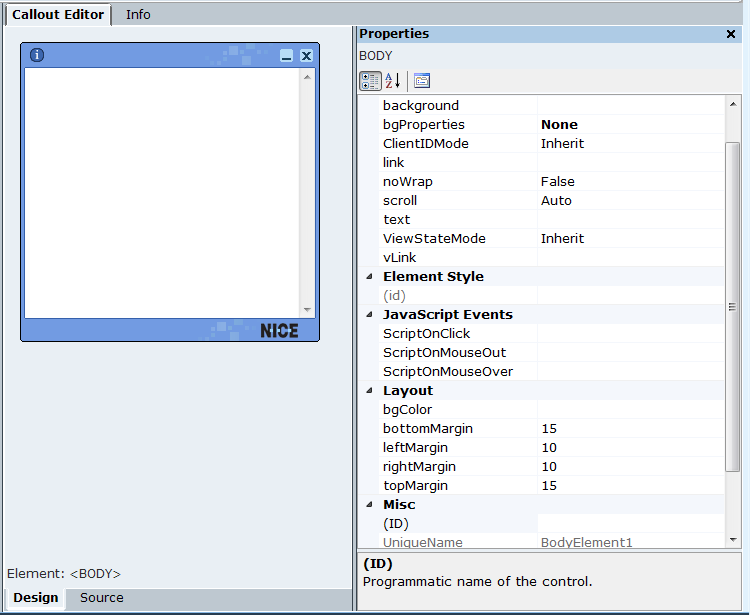
In the Callout Window and the callout BODY Property areas, you can set the frame size and appearance of a callout, such as show/hide effect, icon, title text, and skin name transparency.
| 7. | To define a callout's appearance, size, and data property, see Defining Callout Properties. |
| 8. | To design a callout template and use that as a base for creating new callouts, see Designing and Using a Callout Template. |
| 9. | To see which right-click options are available, see Callout Right-Click Menu. |
| 10. | To edit a callout using scripts, see Accessing Callout Parameters Using Scripts. |
| 11. | To assign a Business Entity value to the Source URL of an IFRAME, see Assigning a Business Entity Value to the Source URL of an IFRAME. |
| 12. | To preview the appearance of this callout as it will be shown on an user's desktop, in the Callouts menu, click the Preview. button. |