


Configuring Callouts as Windows Applications
The callout to appear in the Windows taskbar and in Windows Task Manager, enabling you to:
Use ALT+Tab to switch to a callout or between callouts.
Use a simple mouse click to switch between callouts. The caption of the active callout is highlighted.
Use a simple mouse click to restore a minimized callout from the taskbar.
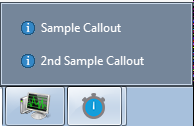
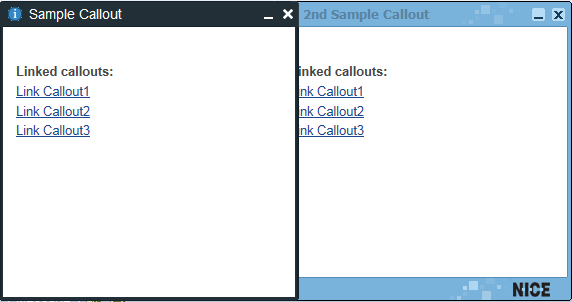
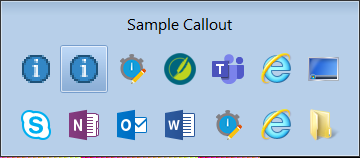
The callout window to always appear on top of all other windows, or not. For example, even when opening an application after the callout is opened, the callout always remains on top.

Configuring the Callout Settings
You can configure the callout options in the System Settings in Real-Time Designer (if installed), or in the RTClient.exe.config file.
To configure the callouts in Real-Time Designer:
| 1. | Select NICE > Settings > Real-Time Client > Callout Configurations. |
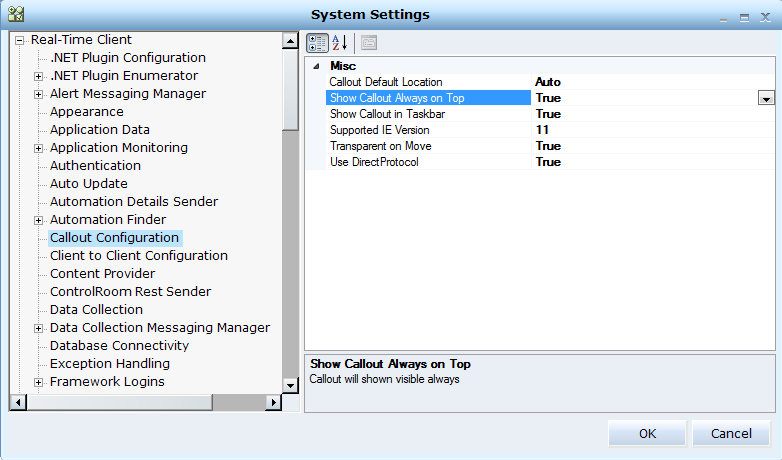
| 2. | Update the settings: |
Show Callout Always on Top: Default value is True. When set to True, the callout window always appears on the top.
Show Callout in Taskbar: Default value is True. When set to True, the callout appears in the Application tab in the Task Manager, enabling you to use ALT+Tab to switch to a callout, and the callout appears in the Windows taskbar.
To configure the callouts in RTClient.exe.config:
| 1. | Open the RTClient.exe.config file with a text editor. |
<calloutConfiguration useDirectProtocol="true" transparentMove="true" ieVersion="11" topMost="true" showInTaskbar="true"/>
| 2. | Locate the parameters (topMost and showInTaskbar). If the parameters do not exist, add them. |
| 3. | Change the values of the parameters and save the config file. |
| 4. | If RTClient is running, restart it. |
Testing Configuring the Callout Settings
You can use this sample project to test the callout settings.
To test configuring the callout settings:
| 1. | Download the sample project here. |
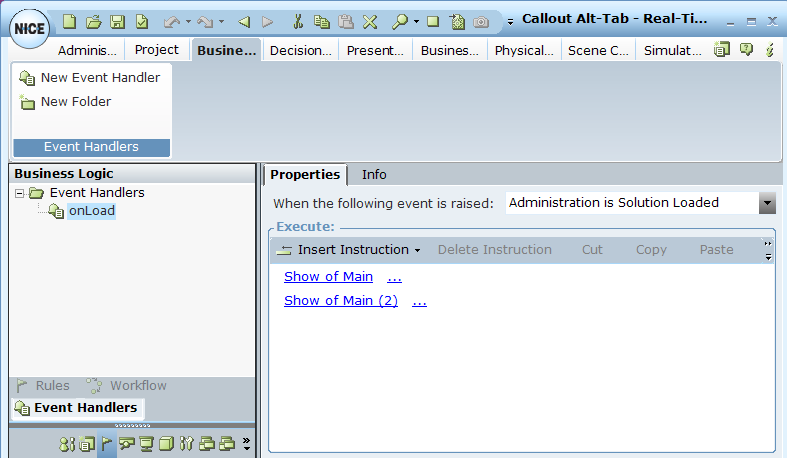
| 2. | An event defines that the callouts appear when the solution is loaded. |
| 3. | Check the NICE > Settings > Real-Time Client > Callout Configuration. |
| 4. | Note that the Show Callout Always on Top and Show Callout in Taskbar are set to True. This is the default. |
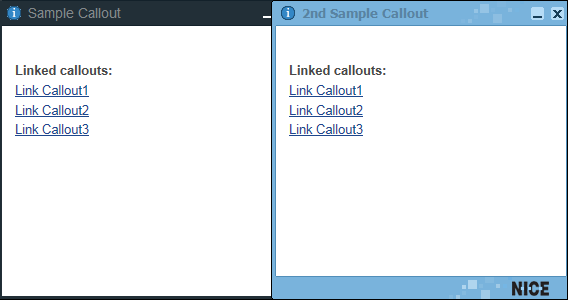
| 5. | Run the project. The callouts appear. |
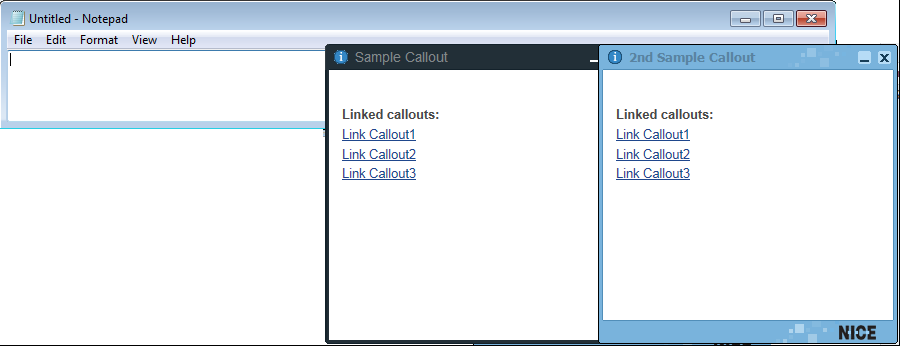
| 6. | Open a new application, for example, Notepad. The callouts remain on the top. |
| 7. | Minimize the callouts. The callouts appear in the Windows taskbar. |
| 8. | Open Task Manager. The callouts appear in the Applications tab. |
| 9. | Use CTRL+Alt to switch to the callouts. |
| 10. | Stop the Real-Time Client. |
| 11. | Open a new application, for example, Notepad. The callouts remain on the top. |
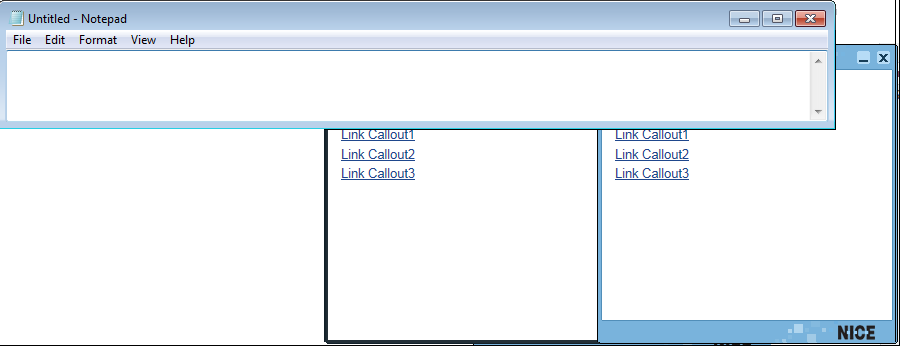
| 12. | Check the Task Manager. The callouts will not appear and you cannot use ALT+Tab to switch to a callout.. |